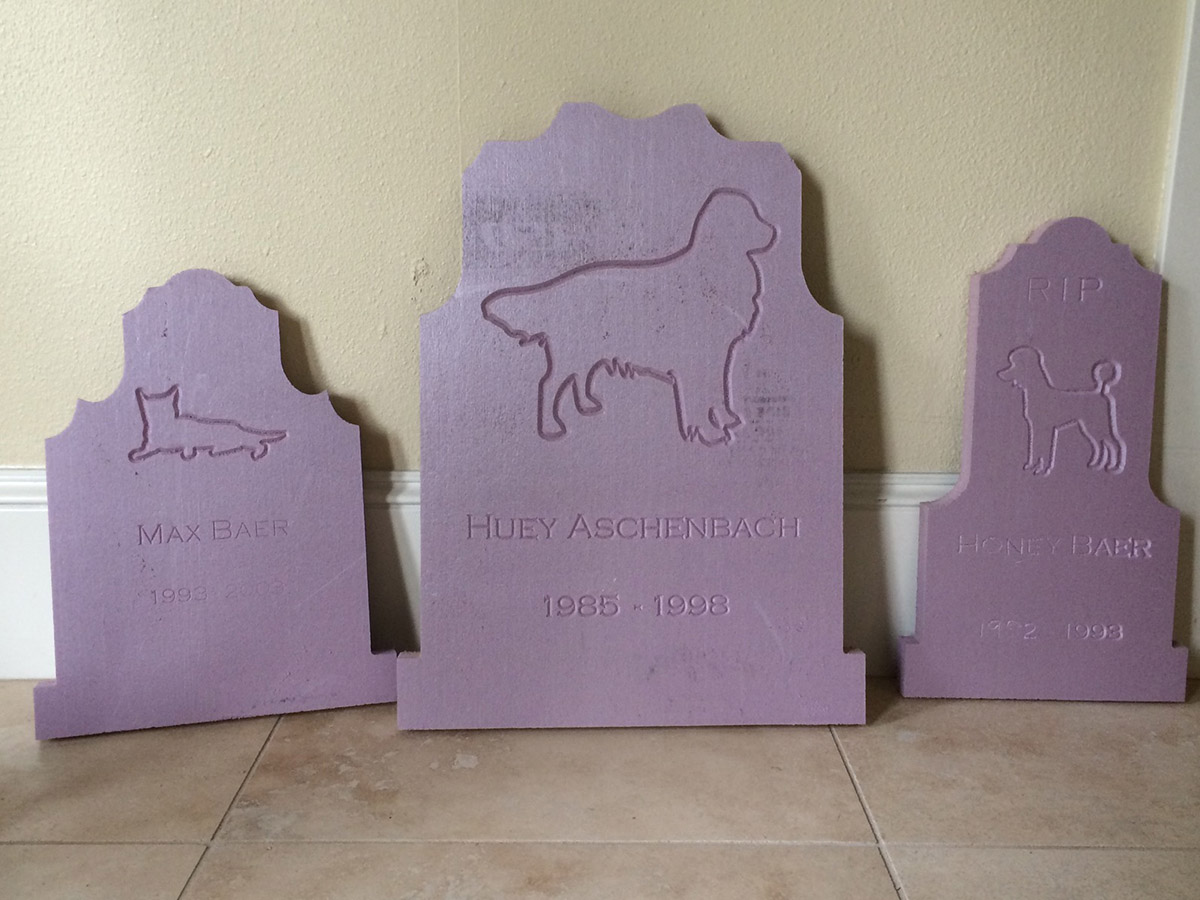
This year we decided to take on a small project to help decorate the front yard for Halloween. We were sad to lose our dear orange tabby cat Frank this July. To memorialize Frank and our pets from years past, we decided to create a small faux pet cemetary in the front yard.
Here are the raw materials we used:
- 1” x 48” x 96” Owens Corning FOAMULAR insulation (about $20, Home Depot)
- Grey and black spray primer (about $6 each)
- 5x Paint mixing sticks (free, Home Depot)
- 10x 1 ¼” long wood screws
Cutting the foam
My wife who is a graphic designer created the geometry for the project download here. The PDF files can be enlarged to a desired size on paper and then cut out with a pair of scissors. You can print large format sheets at a copy center or use regular copier paper taped together to form a template. I used the PDF files in my CAD / CAM software and cut the patterns out on my CNC router.

The Corning foam can be fabricated with a utility knife, hot knife or a router. The best cut can probably be achieved with a small router or a Dremel tool. In addition, I found that the material was hand-sandable. I would experiment to find which tools work best for you. This guide from the manufacturer has some fabrication tips. If I did the project again, I would consider hand drawing the letters / designs or using stencils.
Transportation note: We had a gentleman at Home Depot cut the foam sheet so it would fit in the back of my car. The guide shows a trick for breaking the sheet. You can take a box cutter and run it along a straight-edge (a 2” x 4” in our case) a couple of times. Then you can break the sheet along the score line by pushing down in one swift motion over the edge of a table (or in our case a stack of plywood sheet).
Painting the headstones

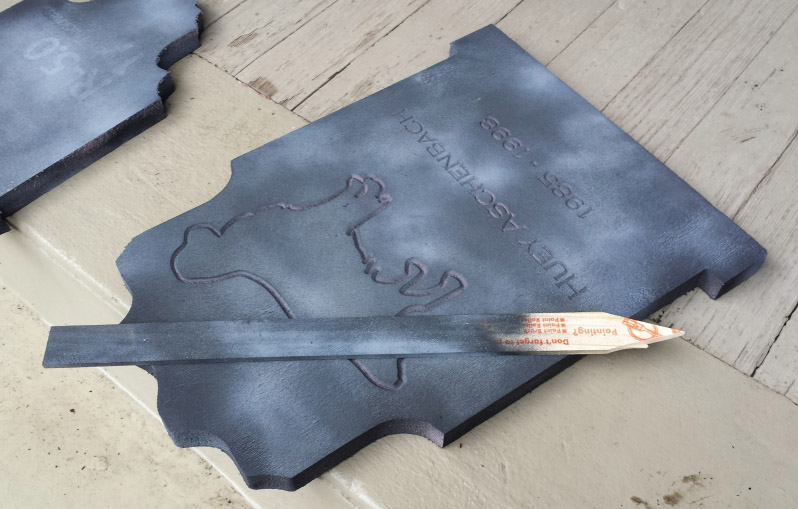
Our goal was to give the headstones the an aged, dirty appearance. We started with the black spray primer with long strokes perhaps 6-12” away from the headstone. Start with short bursts of spray and take care not to stay in one spot. Cover the front, back and the edges until the purple color of the foam is not noticeable. Let dry and apply another coat as necessary. Then we applied the grey primer in streaks around the head stones. You may want to alternate between the grey and black primer to achieve the desired effect.
Installing the headstones

I cut the paint mixing sticks on a compound miter saw into the form of a V on one end (pictured above). This allows the sticks to be used as a stake. These were driven several inches deep into the ground (perhaps 5-7”). I used a small 3-pound sledge to drive these into the group taking care not to split the wood. You may consider putting a small piece of wood behind the stake to help distribute the load a little bit. This should help to minimize splitting.
After the stake was in the ground, I drilled a pilot hole through each stake about 1-2” from the top. Then I centered the headstone in front of each stake. While pushing down slightly on the headstone, I drove a wood screw from the front face about 1” from the bottom back into the stake through the foam. Then from the back, I put a screw in through the pilot hole into the back of the foam. Take care to drill slowly and softly as it will be pretty easy to drive a screw right through the foam.
Have fun time decorating this year and have a safe and happy Halloween!